Thermal Printer: Updated Designs
From the moment I purchased the Adafruit IoT printer kit for managing our incoming packages, I had been planning to produce my own variant of the enclosure—the original was a little kitsch for my tastes, and, in its colour palette, all-too primary.
Adafruit open source most of their designs, and true to form, there are a couple of variants of their thermal printer enclosure on Thingiverse. Downloading the most recent, I set about modifying it. My goal was simple: remove some of the excessive design elements like the cloud cut-out, sharpen up the corners (I rile against the rounded edges that are the mainstay of modern consumer electronics industrial design), and then get it cut in a slightly more aesthetically appealing material1.
I rapidly discovered that things would not be as simple as simply tweaking the design: Adafruit’s designs all done in Illustrator, making them difficult to manipulate precisely. So, given my preference for Fusion 360, I set about re-implementing Adafruit’s design from scratch in Fusion. This has the advantage of allowing me tweak a few more things on the way, and to model the other parts and check everything for fit before ordering:
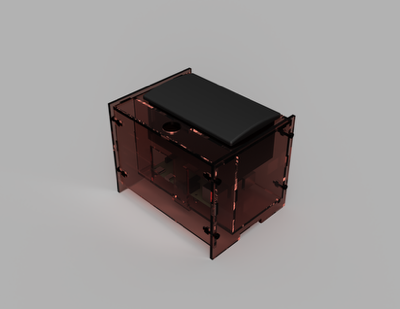
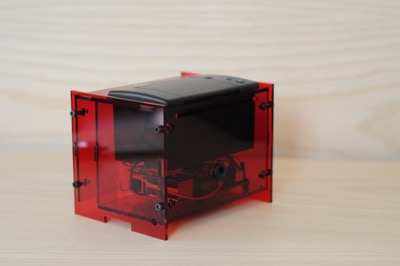
Updated design, ready for manufacture
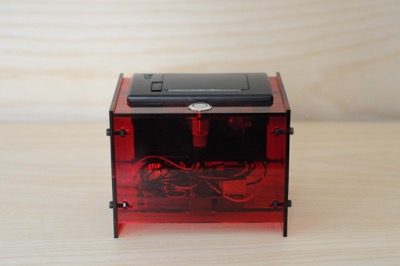
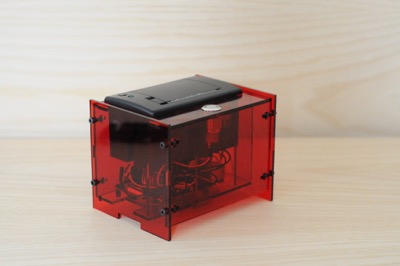
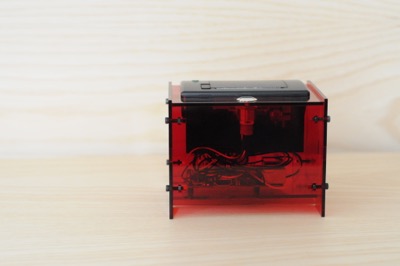
I didn’t get the design quite right the first time around, but after a couple of tweaks, I have something I’m fairly pleased with. Certainly something I’m happy to have it around the apartment until quarantine ends.
I have made the designs available on GitHub and Thingiverse, complete with the Fusion 360 models, and DXF files for laser cutting.