Sony Vaio PCG-C1XN
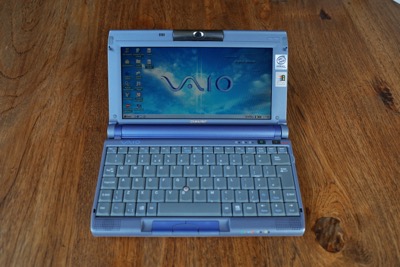
Details
| Model Number | PCG-C1XN |
|---|---|
| Serial Number | 28301550 5100876 |
| Dimensions | 6" x 9.75" x 1.25" |
Documentation
- Manuals (Sony Support)
- Sony Notebook Computer User Guide
- About the Software on your Sony Notebook Computer
- iFixit Sony Vaio PCG-161L Repair—these guides aren’t for the exact same model, and miss a couple of steps, but they’re close enough to be incredibly helpful
There’s also a couple of good teardown videos on YouTube which, just like the iFixit guide, aren’t the exact same model, but are great references:
Sony Vaio C1 PictureBook (1998) Teardown: SSD Upgrade + Power Jack Repair + Windows 98 Tour
Jason Novak
Sony VAIO PictureBook Millennium Edition
Janus Cycle
Setup
BIOS Password Reset
Fortunately, although my Vaio arrived from eBay with a BIOS password set, it’s possible to generate reset codes for many devices running PhoenixBIOS. While the instructions are a little hard to find, it turns out the process is pretty simple for the Sony Vaio PCG series:
- look up the last 7 digits of your serial number (5100876 in my case)
- enter that into bios-pw.org
- use the resulting code as your BIOS password
You can find further details about the process on GitHub, with specific details about Sony PCG series of machines on this archived post.
Reinstalling Windows using the Restore CD
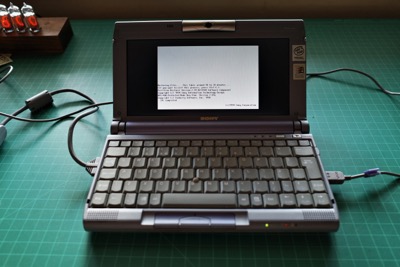
You can find the Recovery CD-ROMs (volumes 1 and 2) on the Internet Archive. I had to jump through a few hoops to make the restore work having replaced the drive with an SSD.—here are the steps I went through1:
Prepare a Windows 98 SE boot disk.
Download a boot disk image from WinWorld.
Write the disk to a floppy disk. I was able to do this on my Mac using a cheap USB floppy disk adapter with
dd:sudo dd if="Windows 98 Second Edition Boot.img" of=/dev/rdisk18 bs=1M
Boot the C1 using your newly created boot disk.
Set up the partitions using fdisk:
FDISKSelect from the options on-screen to delete all the existing partitions.
Create new primary partition (option 1).
Reboot (Ctrl + Alt + Del).
The Windows 98 SE boot disk doesn’t come with the
FORMATcommand pre-extracted, so you’ll need to extract this manually:EXTRACT EBD.CAB FORMAT.COMHaving done this, you can format the new partition and copy the system files:
FORMAT C: /SAt this point you should be able to remove the boot disk from the floppy drive, reboot (Ctrl + Alt + Del), and confirm that you’re able to boot off the internal drive.
Having confirmed you can boot off the internal drive, you can go through the restore process: insert the Vol 1 Recovery CD-ROM in the PCMCIA CD-ROM drive, reboot, and follow the on-screen instructions. At this point, it shouldn’t ask you to reformat the drive, but it will warn you that everything will be deleted.
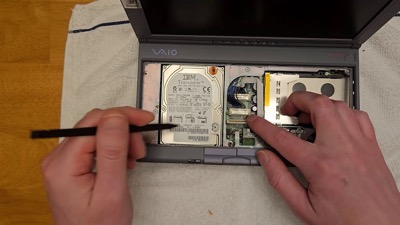
Replacement Parts
Battery
Unsurprisingly, after 25 years, my battery isn’t in the best of help. I’ve found a possible source for batteries, but I’ve not tried buying a replacement yet.
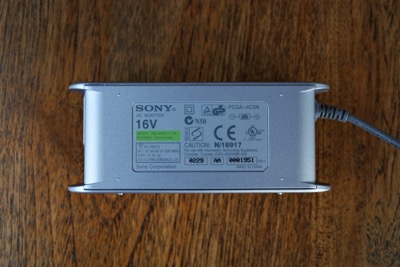
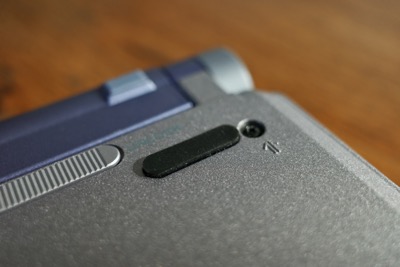
Power Supply
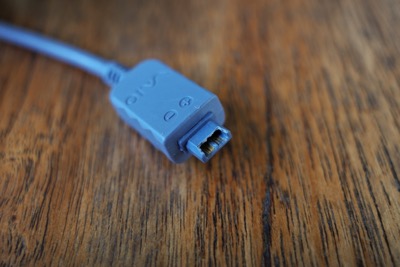
The plastic connectors on the Vaio power supplies seem to damage easily, and my C1 turned up with a broken one which barely stayed in place. Thankfully, I was able to find a replacement on my-adaptor.com (PCGA-AC5N) who seem to be based out of Hong Kong—they look to have a huge range of adapters and, while shipping was a little slow, I’ll definitely consider them for other retro computers in the future.
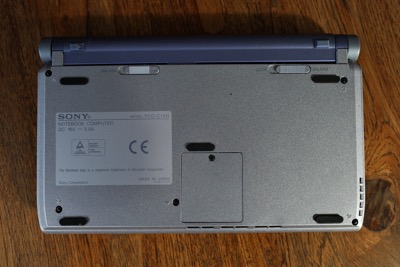
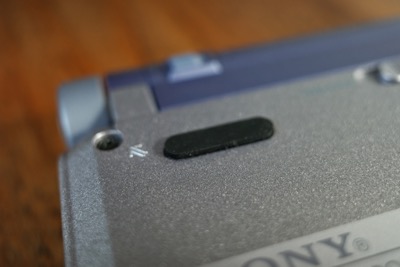
Rubber Feet
After 30 years, the Vaio’s rubber feet will have probably completely perished. I’ve found 20mm x 5mm x 1.5mm oval rubber feet work incredibly well as replacements. I bought mine on AliExpress.
DVD Drive
Unfortunately, like the PictureBook itself, the PCMCIA DVD drive makes use of rubber parts. In the case of the DVD drive, they there are four internal inserts which serve double duty as friction grips to hold the PCMCIA card when not in use, and to minimise vibrations in the drive. In my drive, these were rapidly turning to goop:
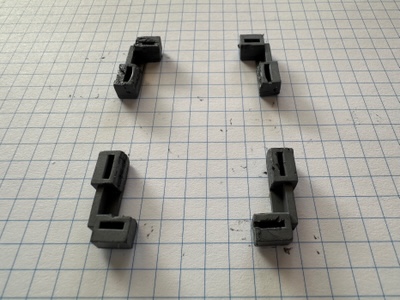
25 year old rubber doesn’t age well
Reference
- RAM Memory Upgrade for Sony VAIO PCG-C1XN Laptops
- C1 (Overview), VAIO Library
- Bootdisk.com
- Windows 98 USB Mass Storage Driver- Download & Install Guide [2025]
- Windows 98 USB Storage Driver - PHILSCOMPUTERLAB.COM
- Sony PCG-C1XN Notebooks & Tablet PCs > Downloads Drivers, Utilities, Manual and BIOS
-
These steps assume you have the original floppy disk and CD-ROM drives. ↩